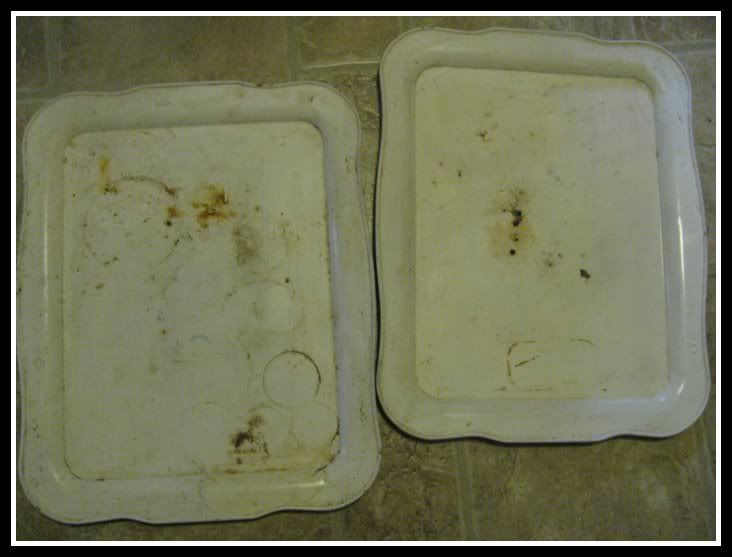
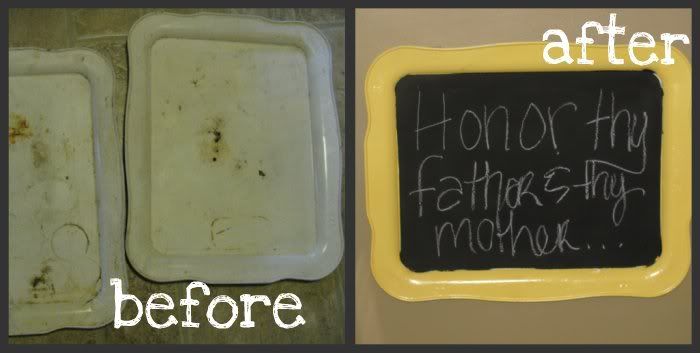
I love the idea of chalkboards, but have you seen the price?!!!? Earlier this summer I stumbled upon these 50 cent trays at a garage sale and immediately I thought, "These would make great chalkboards!" I especially loved the detail on the edges, but as you can see, they were in bad shape.
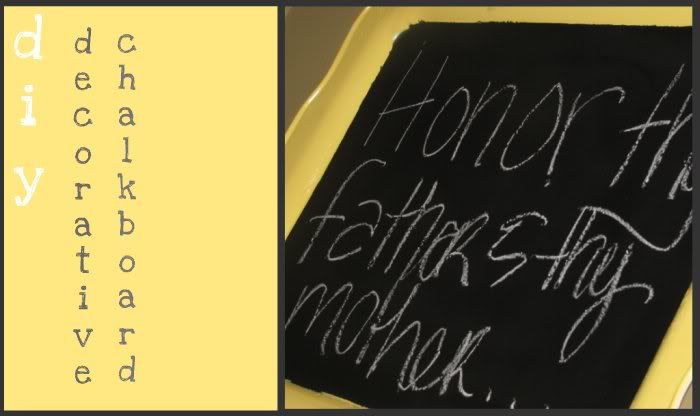
Today, I'm going to show you how to turn a fifty cent tray into a beautiful message board that is both decorative and useful!
Supplies:
Trays
Spray primer
Spray paint in your choice of colors
Chalkboard spray paint
Painter's tape
Plastic wrap or paper for taping the edges
First of all you are going to want to wash your trays and get as much dirt off as possible.
Done? check.
1. Prime your tray. I did this outside on my driveway, because I'm that fancy. Wait until the primer is dry. I waited a whole day just to be sure.
2. Spray paint the entire edge of the tray. Wait at least an hour for it to dry.
3. Spray paint a second coat.
Wait at least 24 hours before proceeding. You don't want your hard work to peel off!
4. Locate your tape.
{I just needed a filler picture so my grid would be asymmetrical.}
5. Cover the outer {dry!!!!, because you waited 24 hours, right?}
edges with plastic wrap, plastic, or paper.
6. Tape the plastic in place making sure to press firmly on the edges to avoid seepage.
Now,
spray paint the middle with the chalkboard paint.
{which I forgot to take a picture of, but
believe me, point and shoot :-)}
You will probably need at least two coats.
I waited a full 48 hours before I tried to
write on mine.
*****


